PoE 2 Shockwave Totem Warbringer Leveling Guide
If you're looking to carve your way through Path of Exile 2 with a thunderous, screen-shattering playstyle, the Shockwave Totem Warbringer leveling build might just be your calling. While not a starter-friendly build in the current meta (especially after Patch 0.2.0 nerfed totem damage), it can still hold its own in leveling content and explode mobs in a satisfying cascade of AoE carnage. Just don't expect it to carry you through the toughest endgame encounters without effort.
In this PoE 2 Shockwave Totem Warbringer Leveling Guide, we’ll cover everything from early-game skill setups to passive tree priorities, support gems, and ascendancy choices. Whether you're a seasoned totem player or trying the Warbringer for the first time, this guide will get you slamming through the campaign like a tribal god of war.
Why Play Shockwave Totem Warbringer?
The main draw here is massive AoE damage via Shockwave Totems, combined with solid utility and layering of damage through supporting skills like Rolling Slam, Boneshatter, and Sunder. With Warbringer’s ascendancy, you’ll stack totem quantity and enjoy buffs while your totems handle most of the dirty work.
That said, recent nerfs have dulled the power spike of this build a bit, so you’ll need to supplement your totem damage with direct-attacks in the early to midgame.
Act One: Setting the Foundation
Starter Skills
Until you unlock Shockwave Totem, you’ll rely on Rolling Slam and Boneshatter. Both offer solid AoE and synergize well with support gems and the melee-heavy Warrior playstyle.
-
Rolling Slam – Your movement and damage tool for packs.
-
Boneshatter – Great for applying aftershocks when enemies are stunned.
-
Shockwave Totem – Unlock this as soon as possible and start practicing your totem placement.
Must-Have Support Gems
-
Overabundance (Shockwave Totem): Crucial. This gem lets you summon an extra Shockwave Totem at the cost of shorter duration. More totems = more damage. Easy math.
-
Bloodlust (Rolling Slam): Helps scale damage against bleeding enemies, especially when you support Shockwave Totem with Lacerate.
-
Impact Shockwave (Boneshatter): Adds AoE aftershocks when you land solid stuns.
-
Rage (Mace Strike): Optional early-game boss tool if you’re struggling with single-target.
Skill Rotation
Your basic rotation should go something like this: Shockwave Totem → Rolling Slam → Boneshatter, rinse and repeat.
For bosses, place totems opposite from you so you both aren’t getting slapped at once. You’ll want the totems acting as meat shields while they deal the damage.
Act Two: Pushing the Totem Core
By now, your Shockwave Totem Warbringer setup should start to resemble the core identity of the build. You’re still working with your original skills, but now you’ll start stacking layers of synergy.
Optional Skill Pickups
-
Perfect Strike – Good for single-target burst. Pair it with Execute and Window of Opportunity support gems to get that boss HP chunking down fast.
-
Earthquake – Lays down Jagged Ground that erupts with bonus damage when your totems hit. A solid AoE multiplier if positioned well.
Support Gems to Watch
-
Fire Infusion (Earthquake) – Fire damage scaling and visual flair. Combos nicely with Jagged Ground eruptions.
-
Execute & Window of Opportunity (Perfect Strike) – Excellent single-target boost for situations where totem damage falls off.
You’ll still be leaning on Overabundance for your Shockwave Totems, but we’re building toward even more totems in the next acts.
Act Three & Cruel: The Power Spike
New Skills
-
Sunder – A big upgrade in AoE damage. You can slot this into your main attack rotation or directly into your second totem later.
-
Ancestral Warrior Totem – This is the second totem that can carry Sunder. Once you unlock this, you’re essentially playing double totem commander mode.
You can drop Rolling Slam by now if it’s falling off, and replace it with Leap Slam for movement and smoother mapping.
Support Gems to Add
-
Fist of War (Sunder) – This one slaps hard. Occasionally boosts your Sunder hits with massive AoE and damage.
-
Bloodlust (Leap Slam) – Still good if you're bleeding enemies. Alternatively, slot it onto Sunder for now.
-
Overpower (Shockwave Totem) – Optional, but if you’ve cleared space and are stacking totems, this boosts your stuns and synergy with Boneshatter.
With the Ancestral Warrior Totem online, make sure to slot Overabundance here so you get multiple hard-hitting Sunder totems alongside your Shockwave setup.
Passive Skill Tree: What to Prioritize
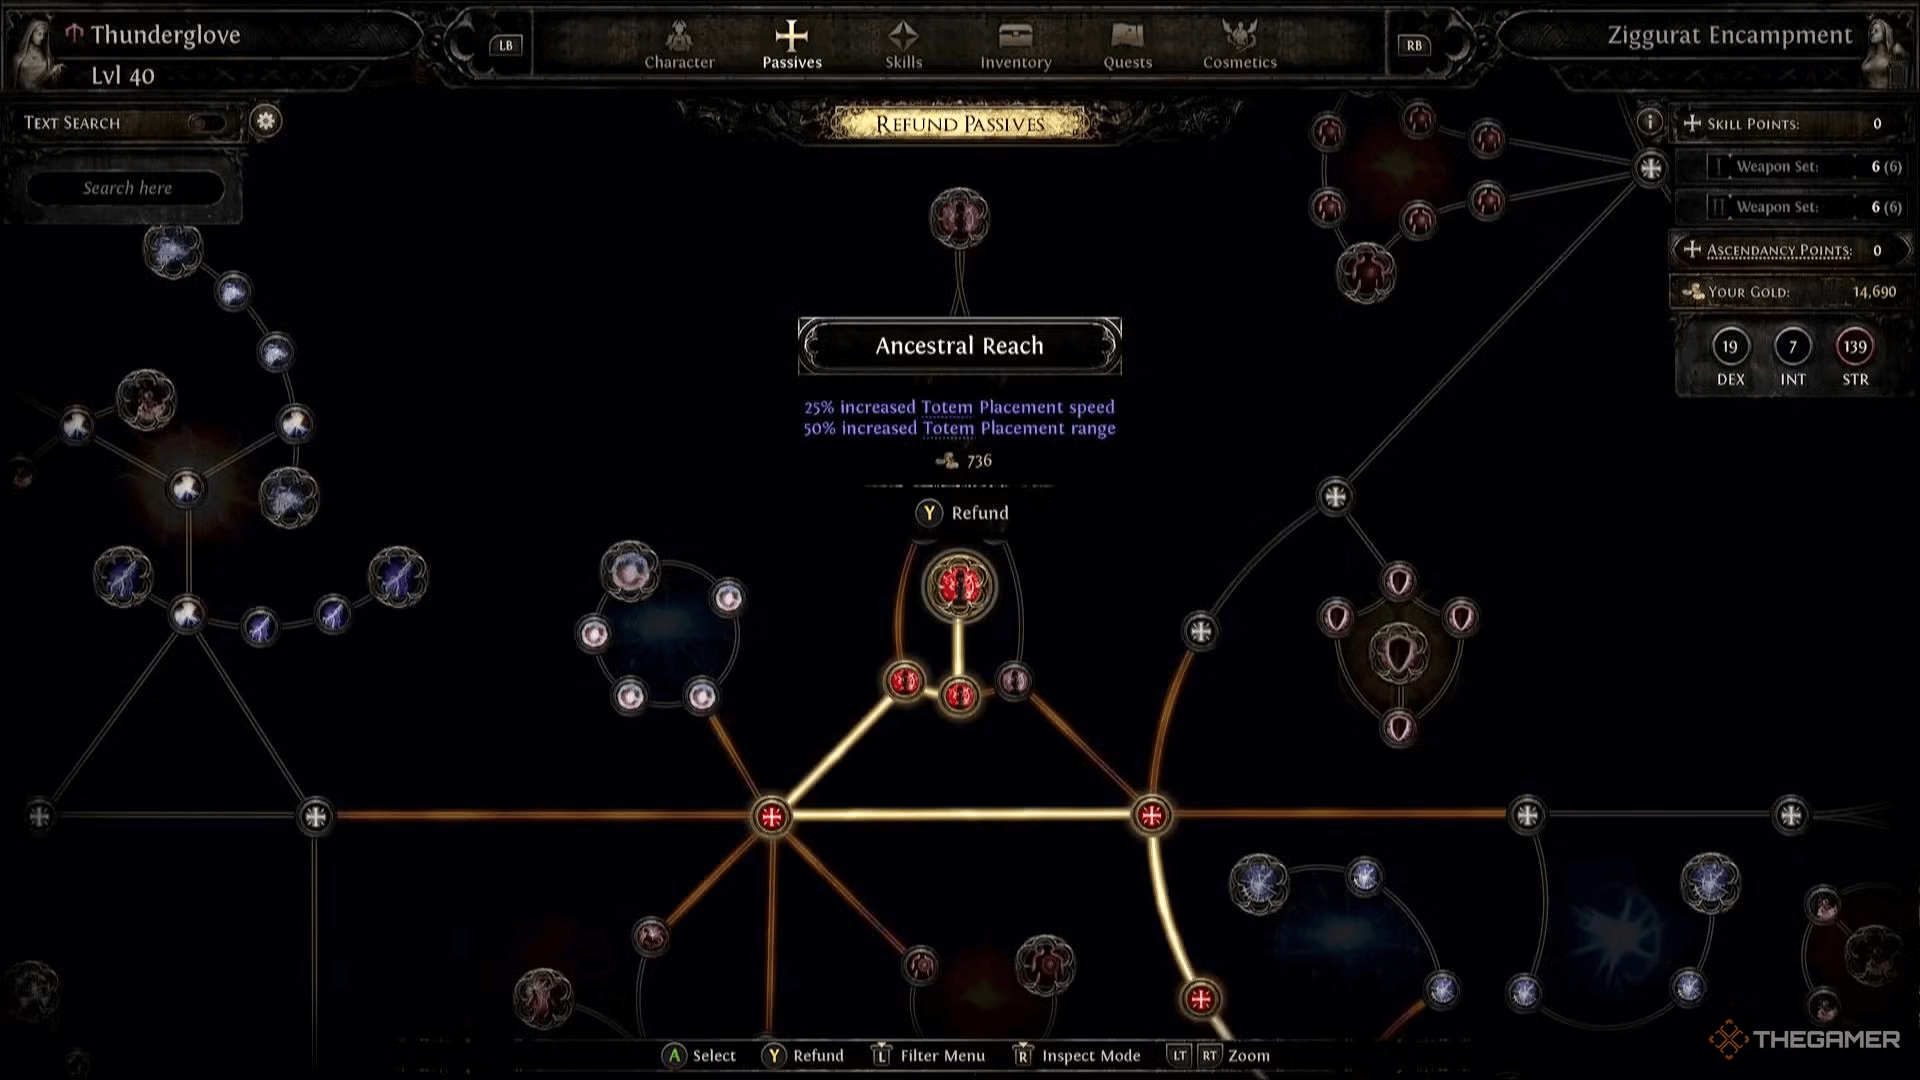
The Shockwave Totem Warbringer build is all about totem quantity, totem resilience, and buffs for both the totems and yourself while they're active.
Here’s what to aim for:
Core Passive Nodes
-
Carved Earth – Boosts totem damage and gives you attack speed every time you summon one. You’ll always be summoning. Take this early.
-
Devastation – Increases your AoE radius and damage. Perfect for scaling both totems and Earthquake/Boneshatter.
-
Ancestral Artifice – Gives you another totem. More totems = better everything.
-
Ancestral Unity & Mending – Bulk up your totem buffs and durability.
-
Watchtowers – Occasionally spawns a free totem. Never a bad thing.
-
Supportive Ancestors – You deal more damage while your totems are up. Spoiler: they’ll always be up.
-
Hardened Wood – Makes your totems tankier. Helps a lot in boss fights where they tend to get splatted.
Ascendancy: Why Warbringer?
The Warbringer Ascendancy is built for this exact archetype. Here’s what you’re gunning for:
-
Ancestral Spirits – Provides extra damage when you summon totems.
-
Wooden Wall – Increases totem health and grants personal survivability buffs. Helps your army last longer while making you less squishy.
Warbringer doesn’t offer the raw firepower of some glass-cannon ascendancies, but it adds consistency and sustain, which you’ll appreciate as you push into Cruel and beyond.
Tips and Tricks From a Veteran Totem Junkie
-
Positioning is everything – Place totems where they can survive but still hit. Don’t plop them down in melee range of a boss unless you want a fast resummon loop.
-
Stagger Totem Placement – You don’t need to drop all of them in the same spot. Spread them to cover more ground and reduce overlap.
-
Support Gems = Power Scaling – Always be leveling alternate support gems in weapon swaps. You’ll thank yourself when it’s time to upgrade.
-
Don’t Rely Solely on Totems – After the nerf, you need supplementary damage sources until endgame. Perfect Strike, Earthquake, and Boneshatter exist for a reason.
Final Thoughts
If you enjoy the feeling of commanding an army of death machines while you zip around and drop earthquakes like it’s no big deal, the PoE 2 Shockwave Totem Warbringer leveling build is still a rewarding path to walk. Sure, it’s no longer the overpowered meta it once was, but for players who like a tactical playstyle with screen-clearing power, it’s hard to pass up.
Just remember — play smart, rotate your damage sources, and don’t neglect your passive tree. If you want to speed things up or test late-game gear interactions early, you can always buy PoE 2 orbs from trusted sellers like PVPBank to experiment with upgrades.